
Product Bundle allows merchants to group two or more related products and sold as a single unit for one price - usually sold at a discount.
Yezza Store View
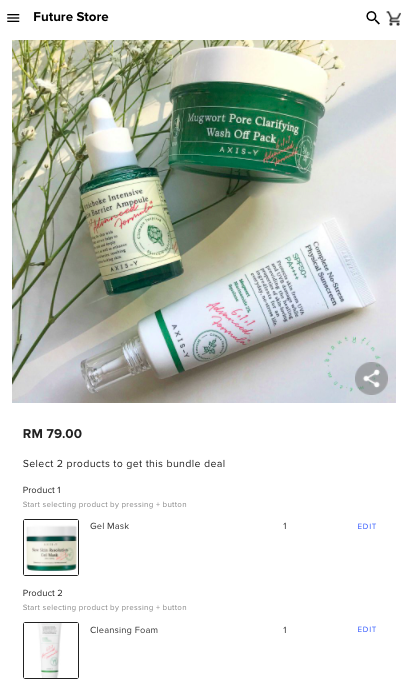
Note: Product Bundle feature is available for Yezza Store only.
In this article:
--
How To Setup
Before begin, ensure you have uploaded your products at Setup > Products. More info here.
1. At Yezza app, go to Setup > Offers > Bundle.
2. Choose Create New Bundle
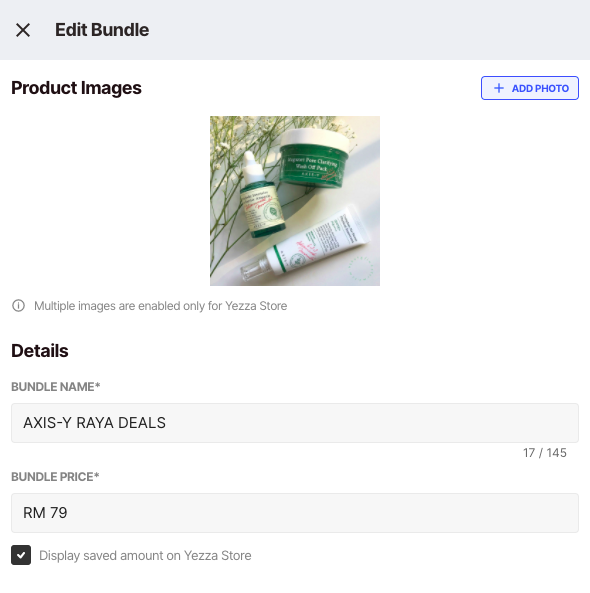
3. Fill up the required details e.g Bundle name, Bundle Price.
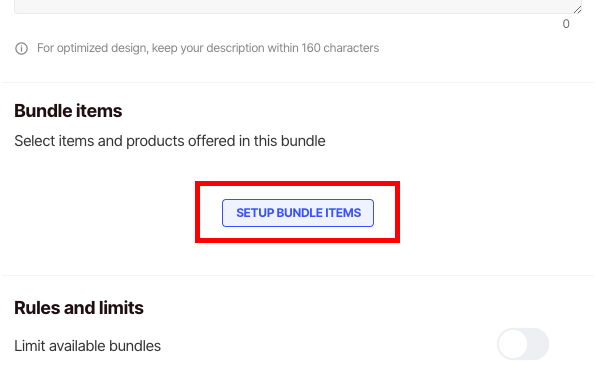
4. Continue by selecting the products involved in this bundle. Click Setup Bundle Items at the Bundle Items section.
5. Next, set the number of items included in this bundle. Click at the (+) icon to begin selecting the products involved.
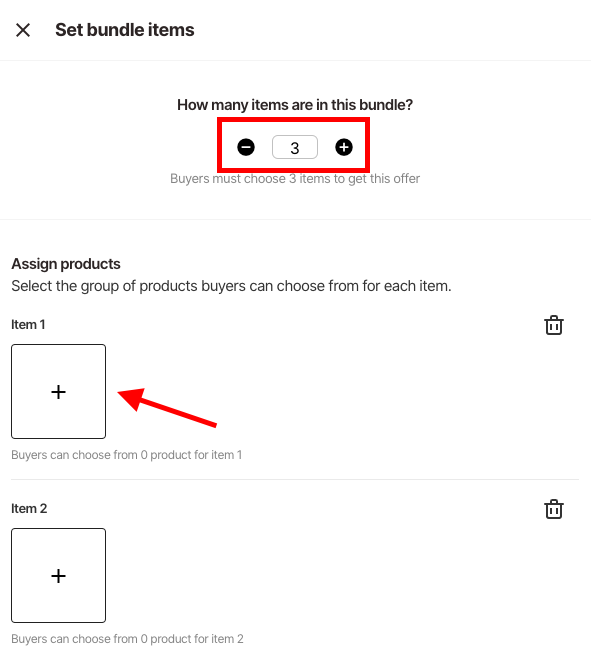
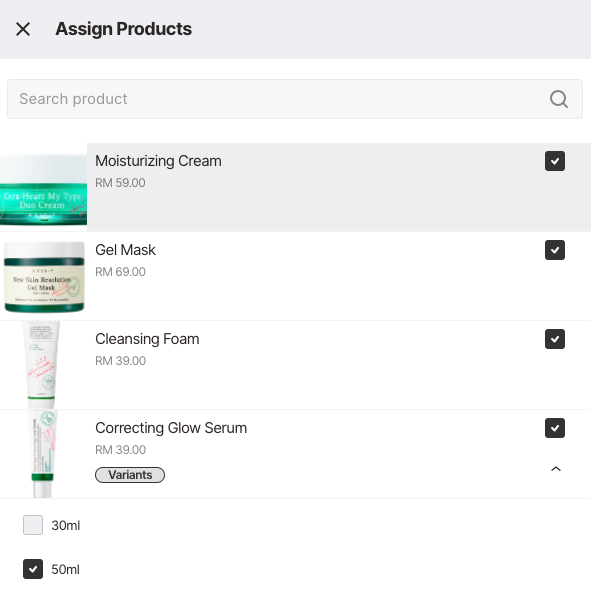
6. Select the products.
Note: Add-on selections will not be available at your customers' view. This will affect products with add-on settings only.
7. Click Save
8. Other additional settings that can be activated:
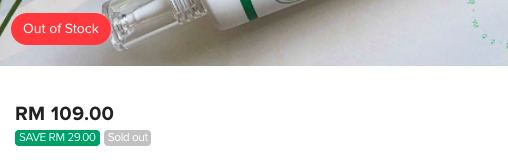
- Display saved amount: Your customers can see how much they managed to saved by purchasing this bundle.

- Limit Available Bundles: Set a limit on the number of times this bundle can be redeemed. If this limit is reached, this bundle will be shown as 'Sold Out'.
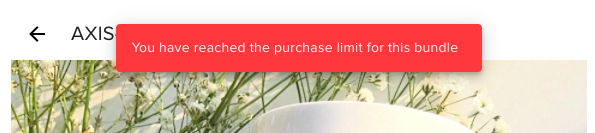
- Limit Purchase Per Buyer: Set a limit order quantity that your customer can purchase for a single order.
9. Scroll down to Yezza Store Features, and choose a category for this bundle.
Important: This product will not be featured at your Yezza Store if you skip this step.

Turn Off Product Bundle
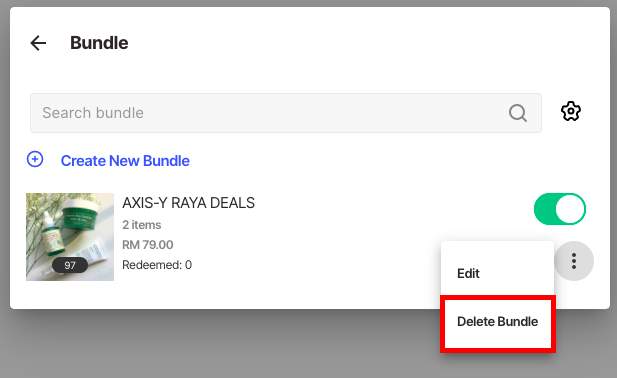
Once your promotion or marketing campaign is finished, you can choose to turn off or delete this offer.
Head to your Product Bundle settings, and turn off the toggle:

Or, you can choose to delete this offer:
💡 Tips: It is advisable to turn off the bundle instead of deleting it. This way your database will still be available for future reference.
View Product Bundle Count
To monitor product bundle count, head to your Product Bundle list. The total number of bundle purchased and the offer limit will be displayed here:

Comments
0 comments
Please sign in to leave a comment.